
Challenge Recap
Dumpling Party Recap
Jun 30, 2026 · 3 min read
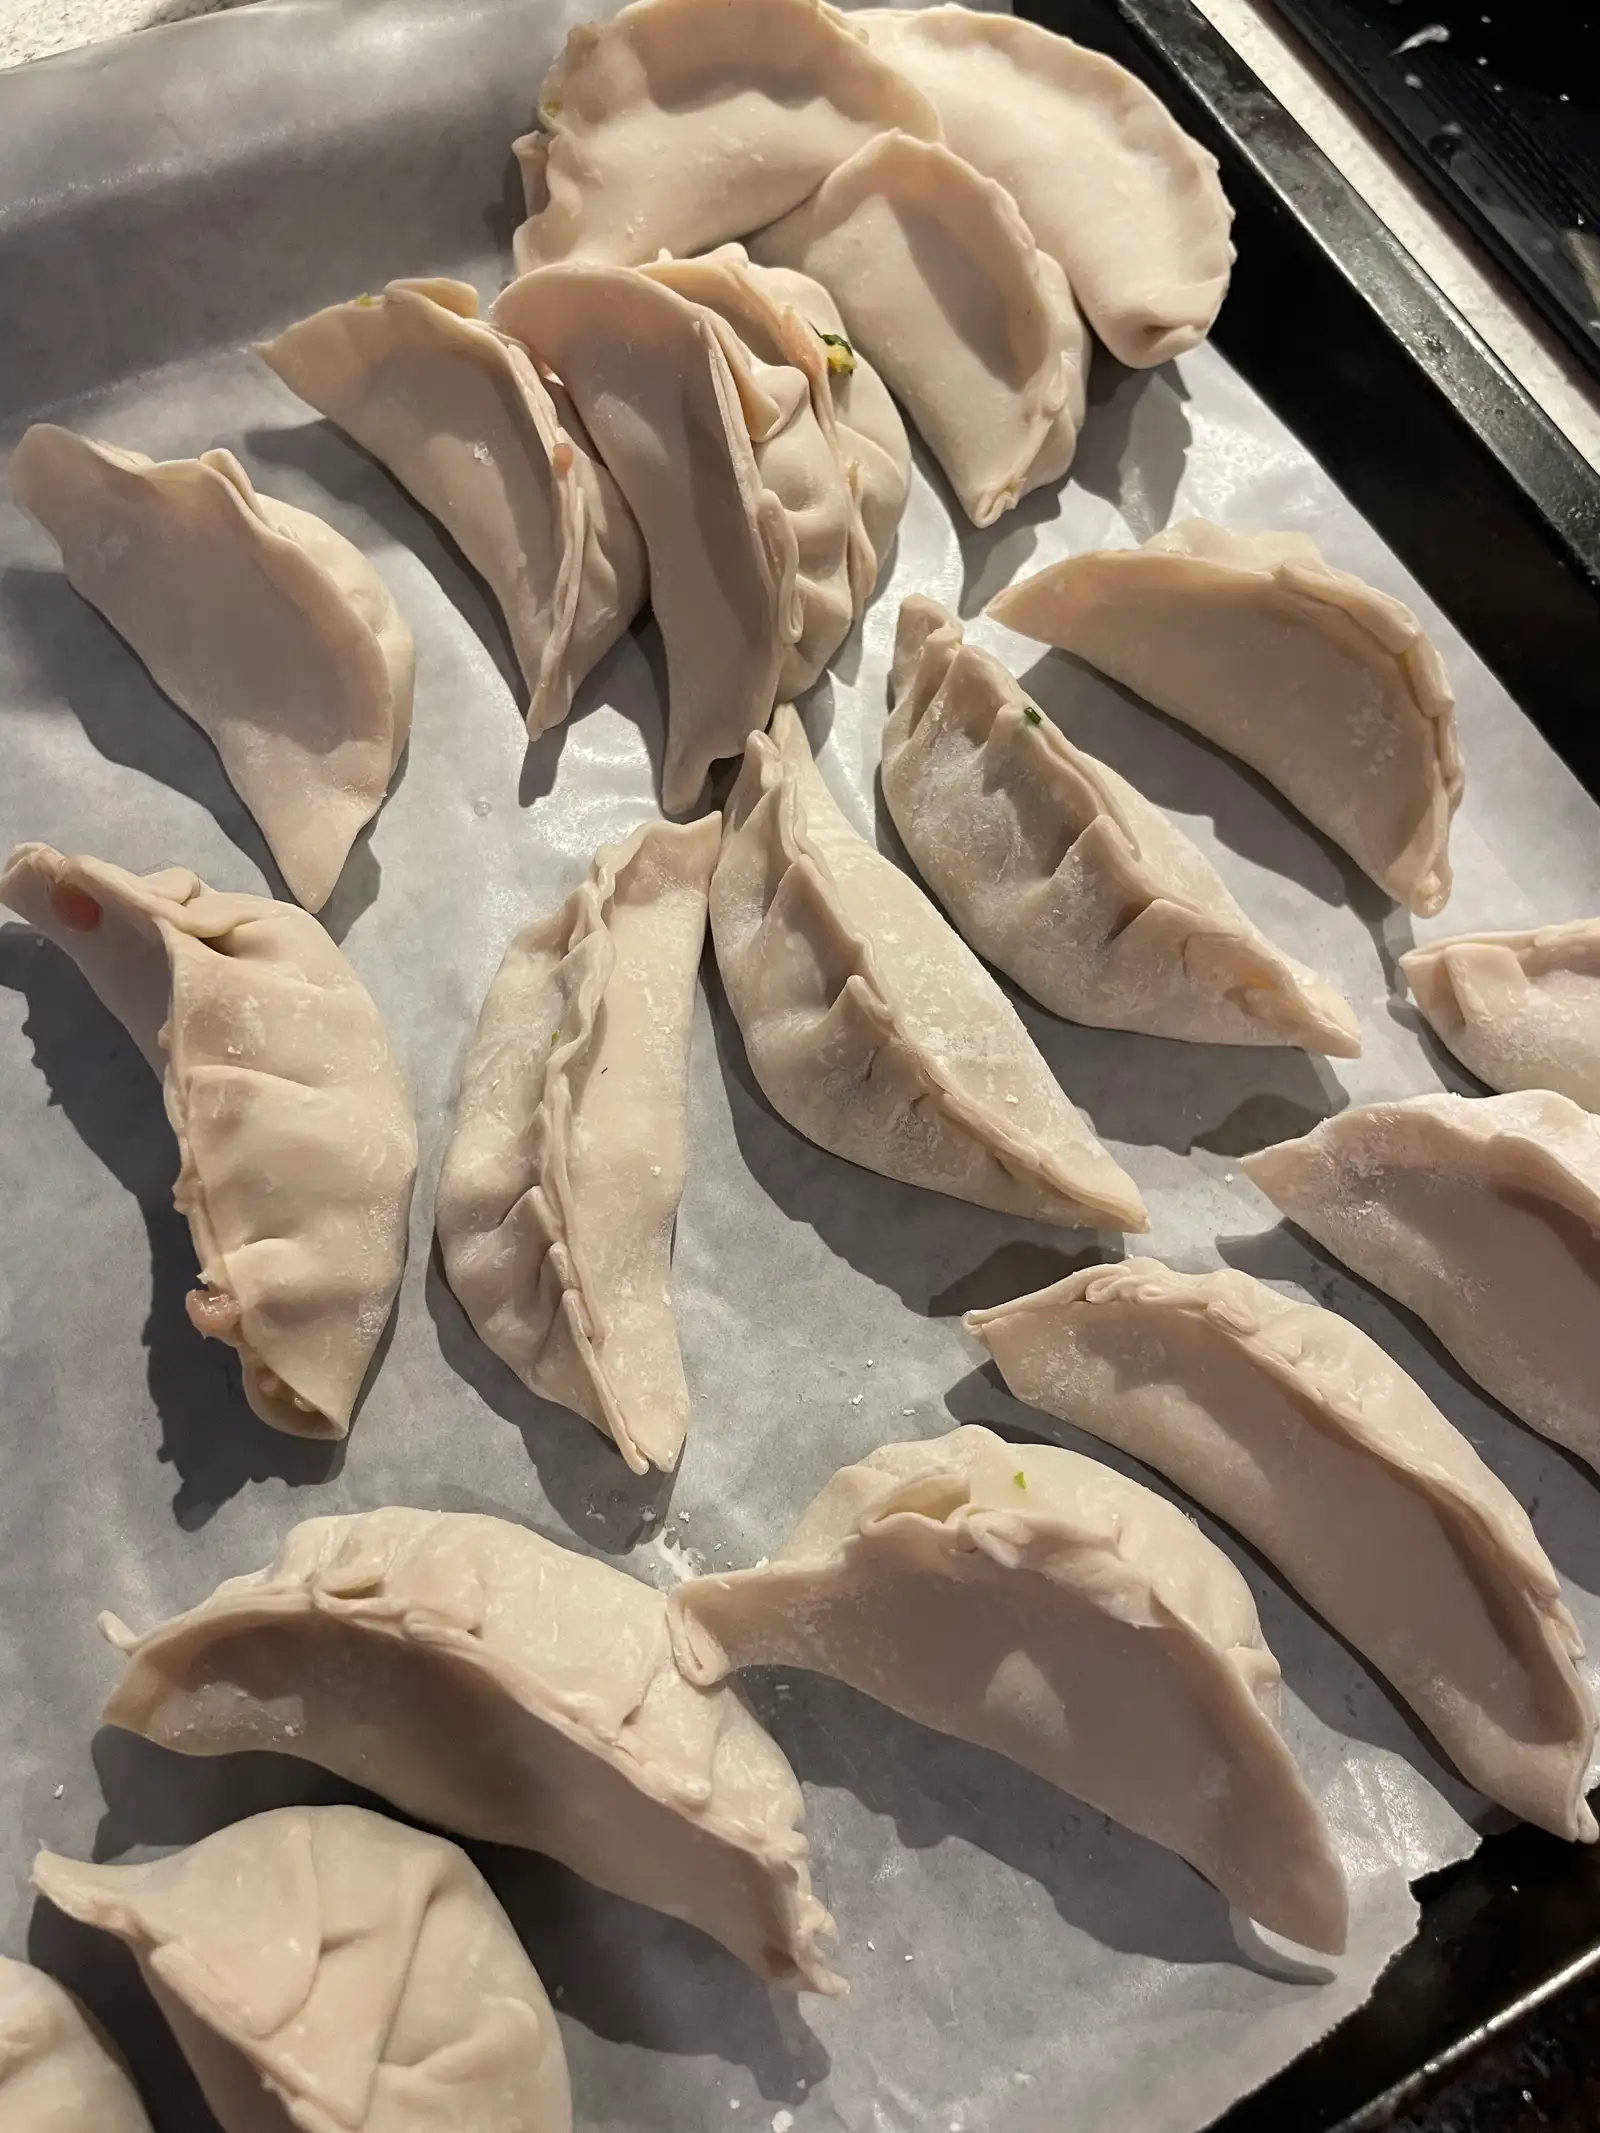
Most cooking gets easier the next time you make it. Dumplings get easier by the end of the same afternoon, which is the main reason we picked them.
There is a point in most dumpling sessions, usually around halfway through the tray, where you stop watching your hands. The wrapper, the spoonful and the folding start to happen while you are talking to someone else. The dumplings you are making are better than the first few, and you did not really try to make them better. You just kept going and they improved.
You get better as you go
With most cooking, the improvement comes later. You make something, it turns out fine, and you might be a bit better the next time you make it. Dumplings are different. You make around thirty in one sitting, and thirty goes at the same small task is enough to get the hang of it. The first few are clumsy and the last few are neat, and the only thing that changed in between was practice. There is no real skill barrier here, just repetition.
Cook it with people
It is called Dumpling Party for a reason. You can make a tray on your own, but it works better with a few people and a bit of a production line. One person on the filling, one folding, one on the pan. It becomes something you do together over an evening rather than a job you rush through before dinner. People end up comparing folds and competing a little, which is most of the fun.
Your first ones will be ugly
This is worth saying, because it puts people off before they start. The first few will leak, lean over or fall apart. Cook them anyway. They taste the same as the neat ones. The only way to get better is to make more of them, so the worst thing you can do is stop after the first few.
What you keep
A week later the wrappers are gone and the pan is back in the cupboard, and you can make dumplings now. Not by following each step, just by knowing how. You started the day unable to fold a neat pleat and finished it able to. If you made extra, the uncooked ones freeze well and turn into an easy dinner later in the week. The point of the challenge was never a single good plate. It was getting to where you can make them again whenever you feel like it.
The recipe
Pork & Cabbage Gyoza
1 hr 15 min · Serves 4 · 7 steps
Ingredients
Method
- 01
Prepare the cabbage
This is the step that decides whether your dumplings burst.
Finely chop the wombok into very small pieces. Place in a colander set over a bowl and toss with the salt.
Let it sit for 10–15 minutes — the salt pulls the water out — then gather the wombok in a clean kitchen towel and squeeze firmly. You want to be surprised by how much liquid comes out.
Skip the squeeze and that water ends up inside your wrappers, where it turns the filling loose and splits dumplings in the pan.
- 02
Make the filling
One direction, two minutes — that is what makes it bouncy.
In a large bowl, combine the pork mince, squeezed wombok, spring onions, ginger, soy sauce, sesame oil, white pepper, and sugar.
Now the bit that matters: stir in one direction only for 2–3 minutes, until the mixture turns sticky and starts clinging to the bowl. That stickiness is the proteins binding — it is what keeps the filling juicy and springy instead of crumbly.
- 03
Set up the production line
Dumplings are an assembly job — set the bench up like one.
Set the bench up left to right: stack of wrappers under a damp kitchen towel, small bowl of water for sealing, teaspoon for portioning, bowl of filling, and a baking-paper-lined tray for the finished dumplings.
Wrapper → fill → seal → tray. If you are cooking with people, this is where you hand out jobs — folding goes twice as fast and the comparison photos are half the fun.
- 04
Fill and fold
Pinch, pleat, press. By dumpling ten, your hands will know it.
Hold a wrapper flat in your non-dominant hand and place a small spoonful of filling dead centre — less than feels right. Wet the edge with a fingertip of water.
Fold into a half-moon and pinch the top centre closed first. Then work from the centre out: 5–6 small pleats on the front side only, pressing each pleat firmly onto the flat back. The pleats will curve the dumpling into a crescent that stands up on its own.
Line them up on the tray, flat side down, not touching. Ugly ones cook just as well — but take the photo of your best row.
- 05
Pan-fry the first batch
Golden bottoms first — the crisp is built before the steam.
Heat a large non-stick pan over medium-high heat and add enough oil to coat the base.
Arrange 10–12 dumplings flat side down with a little space between each, and fry undisturbed for 2–3 minutes. Lift one to check: you want deep golden brown, not blond.
Resist the urge to fit in a few more — a crowded pan drops the temperature and you get steamed-soft bottoms instead of crisp ones.
- 06
Steam, then re-crisp
The steam-fry: one pan, two textures.
Add enough water to just cover the base of the pan and clap the lid on fast — it will sputter hard for a second, and that is exactly right.
Steam for 3–4 minutes until the water has fully evaporated and the wrappers turn tender and translucent. Then lift the lid and give the dumplings another 30 seconds to re-crisp the bottoms.
Repeat with the remaining batches, wiping the pan and adding fresh oil each round.
- 07
Sauce, plate, serve
Crisp side up, sauce on the side, eaten standing at the bench.
Stir together the soy, rice wine vinegar, sesame oil, and as much chilli oil as you trust your table with.
Loosen the dumplings with a spatula and flip them onto the plate crispy side up — that golden base is the shot. Scatter over spring onion and toasted sesame seeds.
Serve immediately, while the bottoms still crackle. Dumplings wait for no one.